Moen Kitchen Faucet, Part 1, Removal
Removing your kitchen faucet is fairly simple, and you can find step by step instructions with your new faucet, as well as online. We asked our plumbers in San Diego to break it down and you can find a few easy steps here. Make sure you know how and where to turn your water off (at the supply lines and at the house in case of an emergency).
Step 1: Shut off the hot and cold water at the angle stops underneath the sink. If they look old, corroded, or are hard to turn, proceed with caution. If you are unsure, contact one of your local San Diego plumbers for a free on-site assessment (Bill Howe never charges for a visual estimate).
Step 2: Once the water has been turned off, turn the faucet on to relieve any pressure.
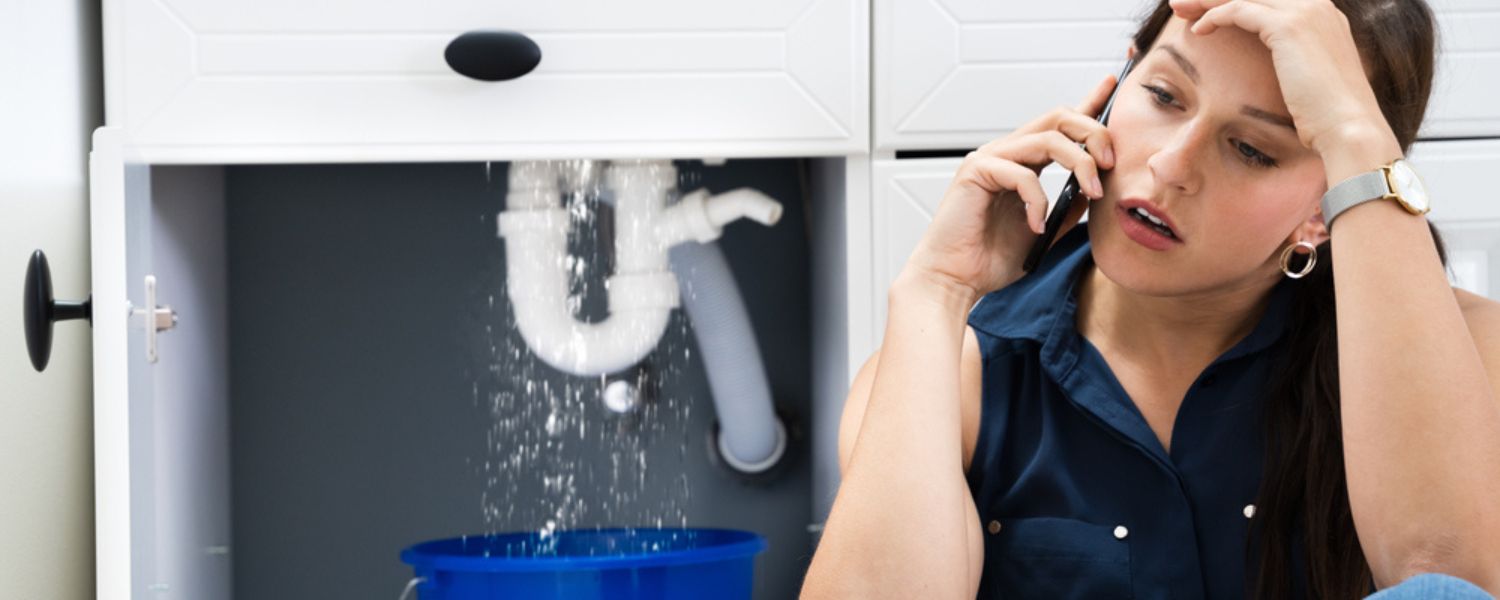
Step 3: Use channel locks and a basin wrench to remove the water lines from the faucet. Use a flashlight so you can see. Our plumbers in San Diego also recommend changing the supply lines instead of reusing them; they should always be a one-time connection and you can find them at your local home store. (Tip: use a bucket to catch any water left in the lines!)
Step 4: Use a socket wrench to remove the nut directly under the faucet (this is what holds the faucet in place.)
Step 5: Disconnect the line that joins the sprayer to the faucet (if applicable).
Step 6: Pull out the faucet and sprayer hose and clean around the sink to prepare for the new faucet installation.
Now that you have successfully removed your faucet, you’re ready to install a new one (watch our video in Part 2). Check to make sure you are purchasing the same size faucet that will match up with the installation location and prepare with the proper tools. If you are unsure, contact any one of our plumbers in San Diego and we are happy to assist you.
If you want professional installation and peace of mind, call 1-800 BILL HOWE 9245-5469) and one of our San Diego plumbers will provide a free estimate.
Comments