In this installment, we show you the basics of faucet installation using a Moen faucet with a separate spray pullout. In a perfect situation, installing a new Moen faucet it fairly simple. Prior to beginning, make sure you have all tools necessary and follow all manufacturer instructions. Once the faucet has been removed (read part 1, removal), you can follow the steps and be done in no time.
Our San Diego Plumber, Steven Winsett, walks you through the steps.
Step 1: Position the gasket (that will sit between the counter and the faucet deck) on the bottom of the faucet, feeding the flex lines through and securing it.
Ste 2: Thread the flex lines through the opening of the sink and place body where you want it to sit. It may be helpful to have a helper hold the faucet in place while you secure it underneath.
Step 3: make sure you have the mounting hardware and a flashlight, and go under the sink to secure. Place the mounting plate first, then the round plate and brass nut. Use the installation tool provided (with Moen faucets) to tighten the mounting nut almost all the way. Check the position, if its where you want it, tightly fasten the brass nut the remainder of the way. Screw the housing nut onto the copper tube that will connect the spray hose.
Step 4: Feed the spray hose through the hole, remove the white cap from the end and hook the hose to the body of the faucet and use the clip to hold it in place.
Step 5: Attach the weight onto the hose. It does need to be precisely positioned according to manufacturer instructions. Test the weight by moving it up and down the hose freely, and then test it above the sink by pulling the spray wand in and out. The hoses should not hit anything underneath the sink.
Step 6: Finish by hooking up the hot and cold-water lines. We recommend using new flex lines every time you disconnect them, as they can wear out and cause leaks. Position the lines so they are out of the way and not kinked and use pliers to tighten the flex line and use another set to hold the angel stop in place.
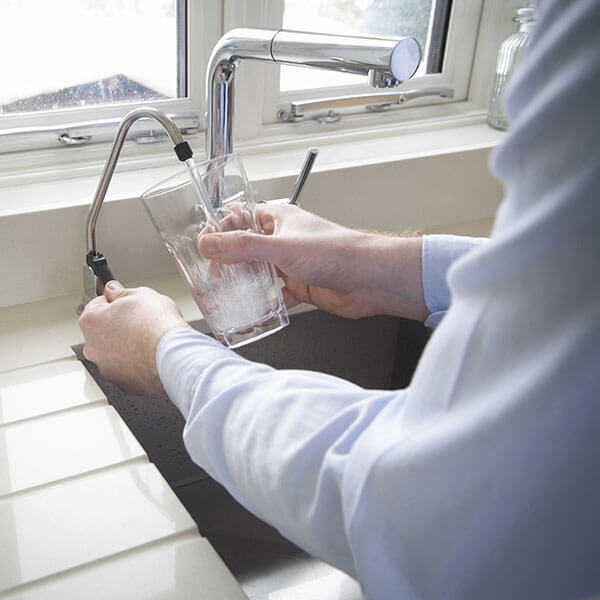
Step 7: Check for leaks by turning the water back on and letting it run, also use the spray hose to ensure no dripping is coming from anywhere.
You’re done!
Installing a faucet can be a fairly simple process, and new faucets should come with manufacturer specific instructions. Keep in mind, most pitfalls will come with the angle stops and flex lines, so be careful of their condition prior to starting and know where your main water shut off is located in case of an emergency.
To have one of San Diego’s best plumbers from Bill Howe provide a free estimate, or if you have questions, call 1-800 BILL HOWE (245-5469), we’re here to help!